Installation Instructions
How To Install STAY-GATE
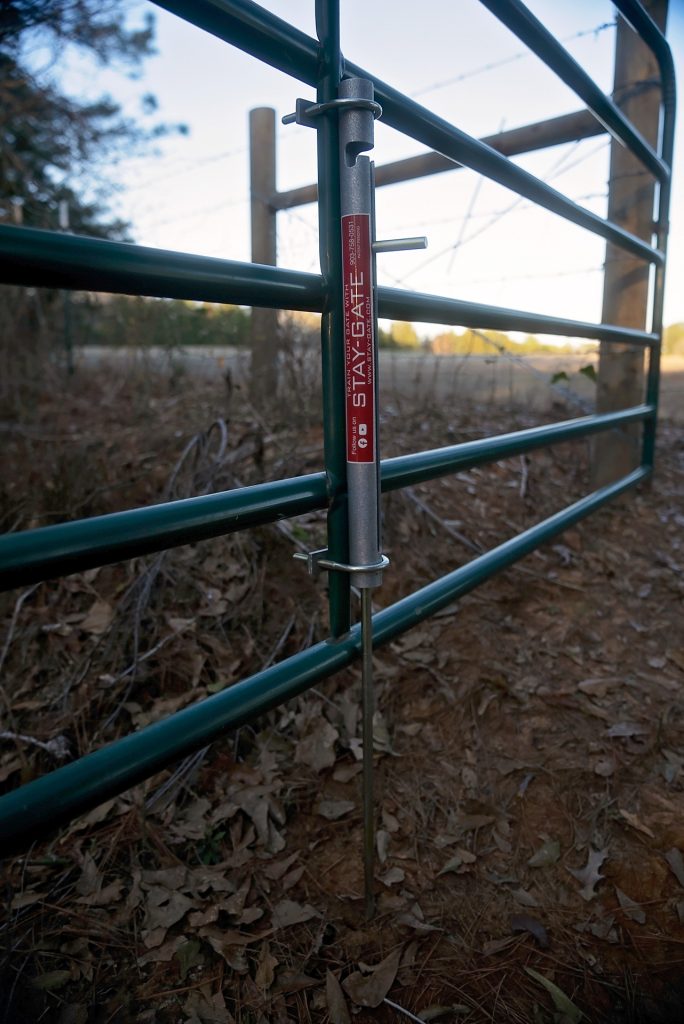
STAY-GATE can be mounted onto nearly any gate — tube gates, panel gates, wood gates, and more. It’s designed for one-person installation and takes less than 5 minutes to install.
Where On The Gate Should I Install STAY-GATE
We recommend mounting STAY-GATE near the latch for convenient access and secure anchoring.
However, you can install the device anywhere on the gate. For example, if the ground has a low slope near the latch, you can mount it toward the middle of the gate to compensate for low slope terrain.
Parts Included:
- 1 STAY-GATE gate holder
- 2 U-Bolt Brackets or Clamp Brackets based on type of gate you have
- 1 zip tie to hold STAY-GATE in place during installation

Instructions
Mounting to a tube gate
Tools Needed
- 9/16″ Wrench
-
Step 1
Make sure the end of the drop rod is level with the bottom of the gate.
-
Step 2
Use the zip tie to hold STAY-GATE in place while you install the u-bolt brackets.
-
Step 3
Place the aluminum backing plate of the u-bolt onto the gate and install the nuts.
*Tighten only enough to slightly bend the aluminum backing plate to keep your STAY-GATE in place. -
Step 4
Once STAY-GATE is set in place, cut the zip tie.
Mounting to a panel gate
Tools Needed
- 7/16” Wrench
- 5/16” Drill Bit
- Tape measure
-
Step 1
Determine where you want to install your STAY-GATE on your wooden or panel gate.
-
Step 2
Mark screw holes or bolt holes to attach the clamp.
*You will need roughly 20” hole center distance for brackets to mount correctly to the STAY-GATE housing. -
Step 3
Fasten the brackets, install your STAY-GATE into the clamps, and tighten the brackets around the housing.
Questions?
Feel free to reach out anytime.
